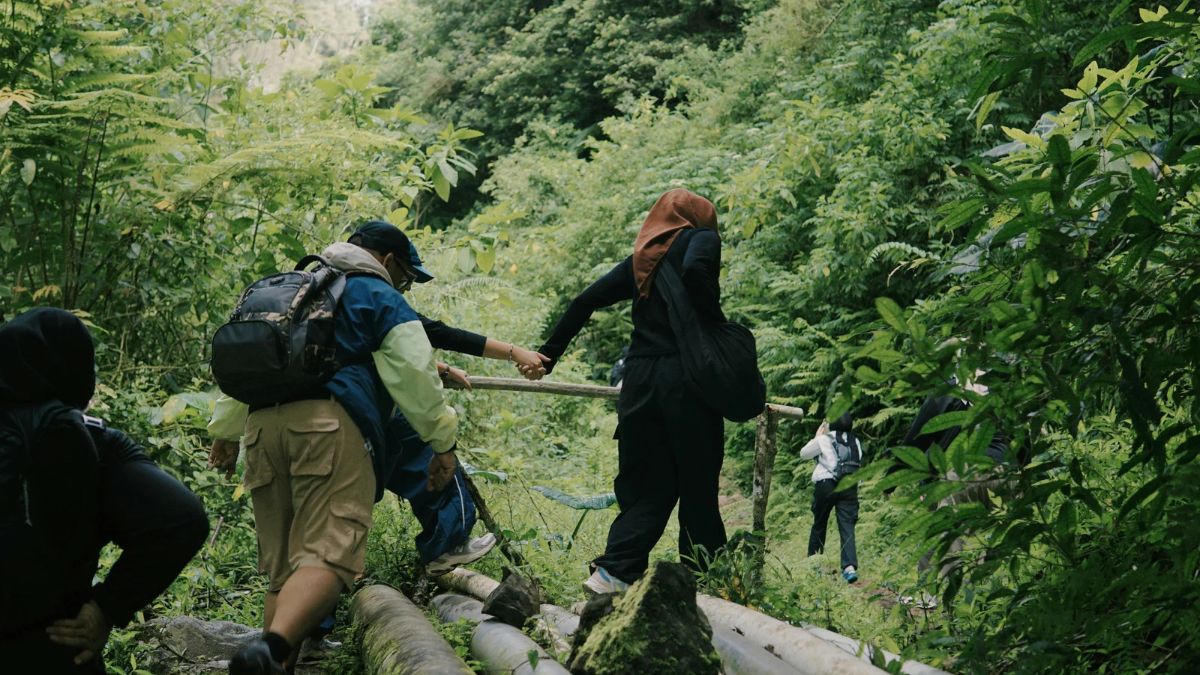
A comfortable day hike begins with a plan for the trail you intend to walk. Distance, elevation, weather, and available water affect what belongs in your pack. A short, maintained loop may call for a lighter load than a remote route, but both deserve attention to hydration, navigation, and changing conditions.
Start by checking current trail information and the forecast. Then use the essentials below to build a pack that supports your outing without filling it with items you will never use.
Choose a Pack That Fits Your Route
Your daypack should hold water, food, extra clothing, and safety supplies while sitting comfortably on your shoulders. Try it on with some weight inside and adjust the straps before leaving home. A smaller pack may suit an easy hike; a longer or more remote route may require room for additional layers and emergency supplies.
Place heavier items close to your back and keep the load balanced from side to side. Give the packed bag a short trial walk. If the straps rub or the pack shifts as you move, adjust it before you reach the trailhead.
Keep items you reach for often, such as snacks, a map, and sunscreen, in accessible pockets. Use a waterproof pouch for your phone, keys, and other items that could be damaged by rain.
Carry Water and Food for Delays
Water needs vary with heat, effort, altitude, and the length of your hike. Bring enough for the full route and some extra rather than relying on an unconfirmed stream or fountain. If you plan to refill from a natural source, confirm it is available and carry a suitable treatment method. Drinking regularly is easier when your bottle or hydration tube is within reach.
Pack a meal or substantial snack for a longer outing, along with extra food in case you move more slowly than expected. Nuts, sandwiches, dried fruit, and bars are convenient choices if they suit your needs. Protect food from wildlife according to the rules of the area, and carry out every wrapper.
Dress in Layers and Test Your Footwear
Choose clothing that lets you move freely and responds to changing temperatures. A comfortable base layer, a warm layer, and a rain or wind shell give you options as conditions shift. Check the forecast for the trail and its elevation, not only the town near the trailhead. A spare pair of socks can help if your feet get wet.
Footwear should fit the terrain and your feet. Trail shoes may work well on maintained paths, while rough, wet, or rocky routes may call for more protection and grip. Wear new shoes on shorter walks before taking them on a full-day hike. Pair them with socks that stay comfortable as you move.
If you expect stream crossings or muddy sections, check whether the trail has bridges or alternate routes. Wet footwear can affect comfort for the rest of the day, so consider how quickly your shoes and socks dry and whether you have a dry pair waiting afterward.
A brimmed hat, sunglasses, and sunscreen help on exposed trails. Bring insect repellent when local conditions call for it.
Prepare to Navigate and Handle Delays
Review the route before you leave, including trail junctions, elevation changes, and a realistic turnaround time. Download an offline map if you use your phone, and carry a paper map or another backup appropriate to the route. A charged phone and portable battery can be useful, but cellular service may disappear.
Notice how far the route is from road access and whether its return leg climbs rather than descends. Allow time for breaks and photographs. If you miss a junction or conditions deteriorate, stop and reassess while you can still retrace your steps safely.
Pack a small first-aid kit with blister care, a headlamp, and a whistle. On a remote hike, an emergency blanket or compact shelter and a basic repair tool add useful backup. Tell someone your route and expected return time, especially if you are hiking alone.
Before you set out, check for closures, permits, and site-specific guidance from the trail manager. Pack thoughtfully, start early enough to finish in daylight, and turn around if conditions move beyond your plan.
Leave a Reply